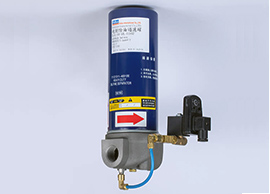
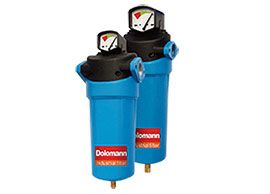
Check Regularly (Air Compressor Oil Separator Element)
Air Compressor Oil Separator Element Replacement
1 Disassembly of oil separator element
Please use a special tool to remove it housing.
1. Press the stop button.
2. Cut off the main power supply.
3. Close the stop valve on the exhaust side.
4. Open the left plate and wait for the inside pressure gauge of oil separator down to 0MPa.
Notice
The surface temperature of the oil separator housing that has just been shut down is very high. Please be careful not to burn it.
5. Open the left door plate.
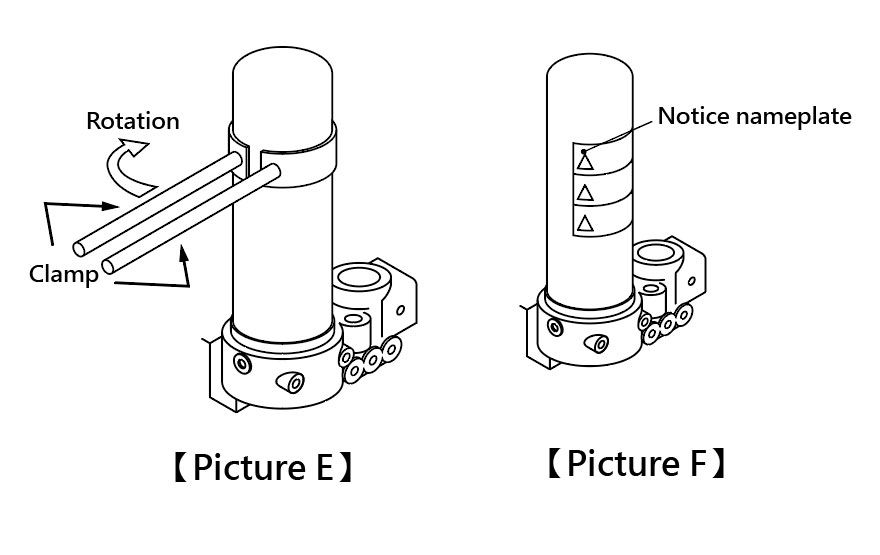
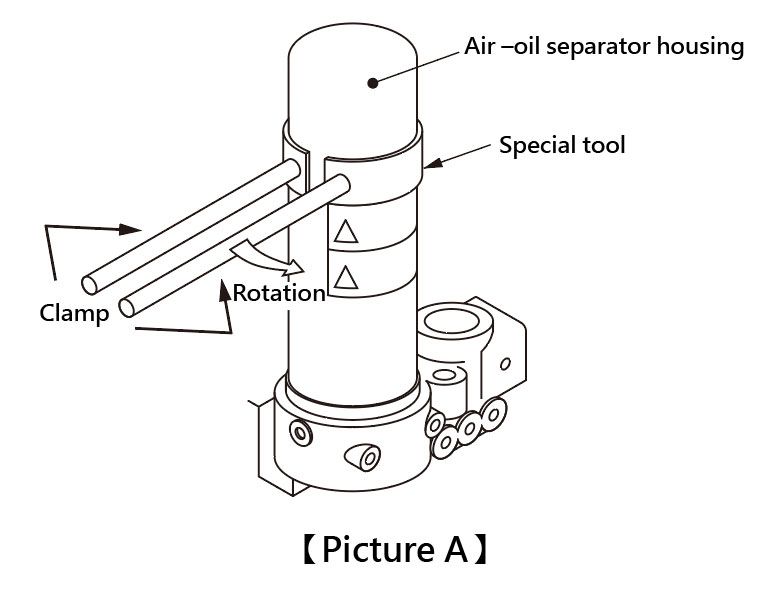
6. Clamp the upper part of the housing with a special tool, rotate it to the left(counterclockwise), loosen the housing and remove it.【APicture】
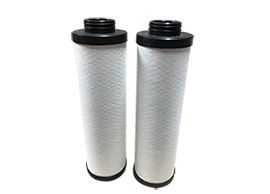
7. After taking out the housing, pull out the inner filter element slowly.(picture B)
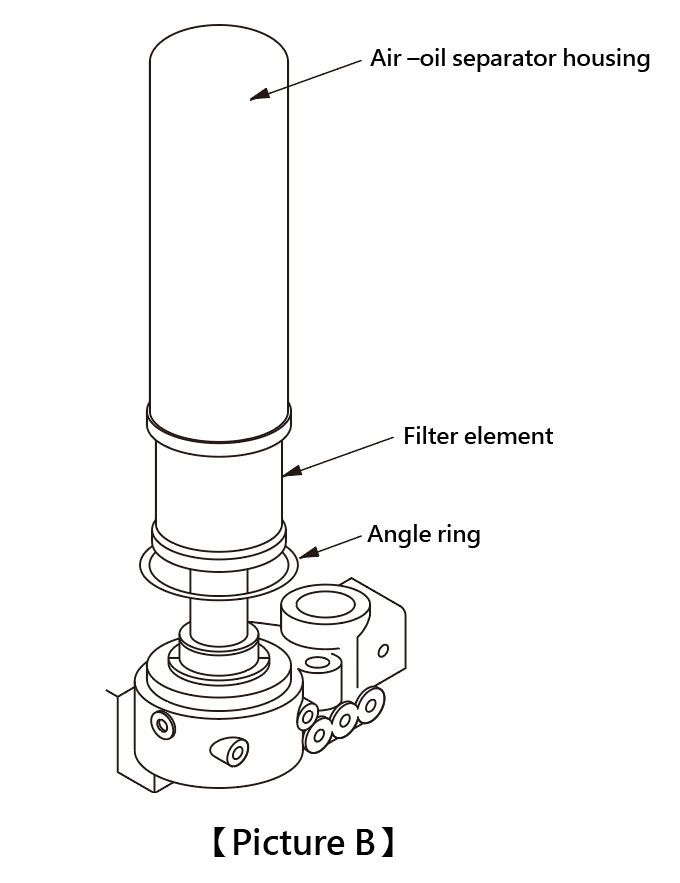
8. Remove the angle ring.
2 Installation of oil separator element
The housing and the angle ring should also be replaced at the same time when replacing the filter element.
1. Confirm that there are no scars on the thread of the joint and the sealing groove of the square ting, if dirt or scars will lead to leakage, please handle it carefully with a dead smooth file.
2. Confirm that there is no scar or paint drop on the new housing.
3. Fully apply lubricating oil to the inside of the filter element washer and the joint thread. (NEW OIL NEXT OIL) (C picture), confirm the washer is correctly installed at the end plate of the filter element 【C Picture】
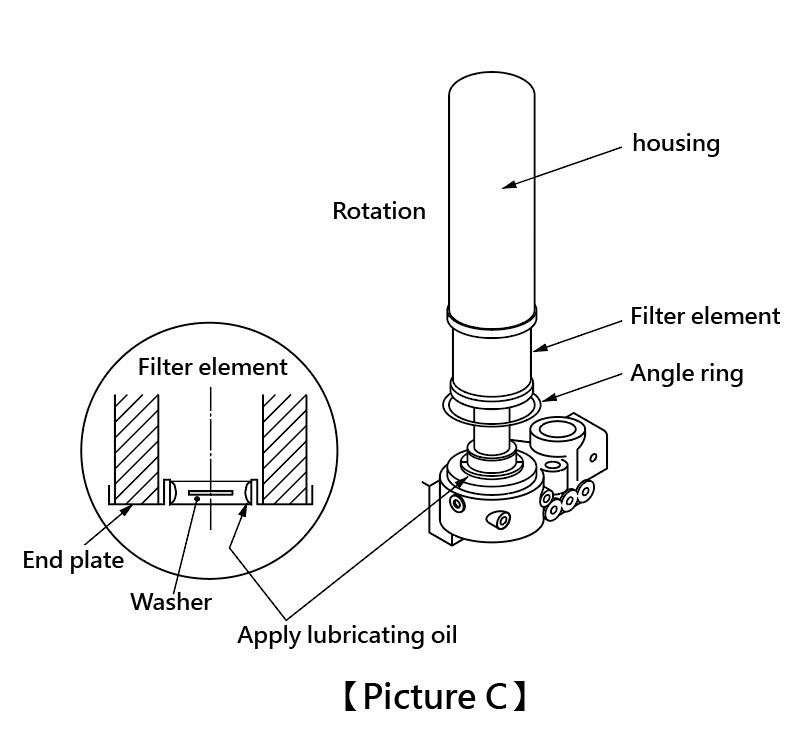
4. The square ring is coated with silicon grease, do not wipe off and install it directly on the joint.
5. Install the filter element into the housing according to the reverse steps of removing the filter element. 【D Picture 】
6. Two hands lift the filter element first, then press the end plate of the filter element tightly into the joint integration, and be careful not to expose the washer 【D Picture 】
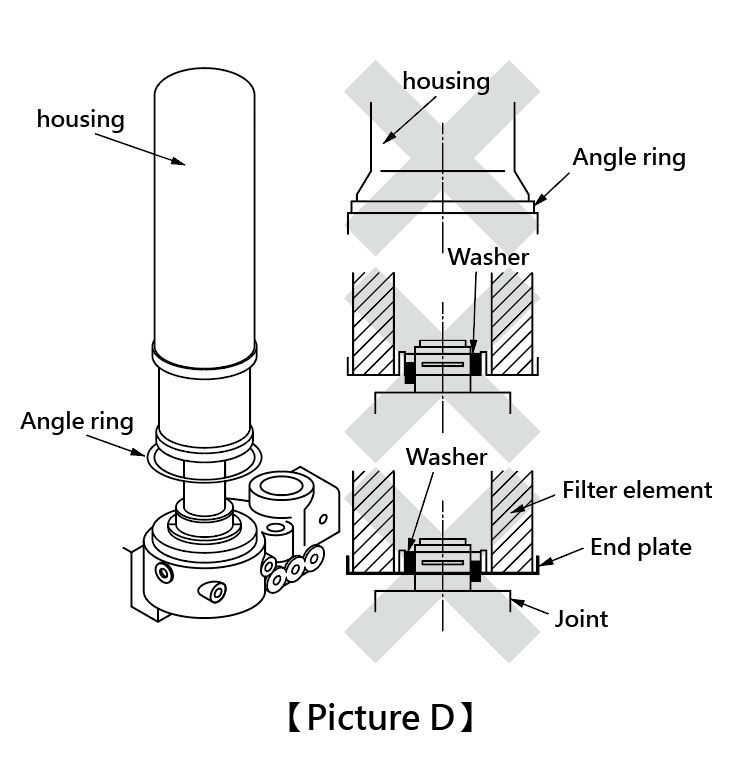
7. Install the housing to the threaded part of the joint, and be careful not to let the square ring expose the joint.
8. When installing the housing, tighten it by hand first, and then use tools to make the end face of the housing full connect with the joint when it can't be screwed. Be careful not to damage the housing( 【EPicture 】
9. Put the attached notice nameplate in a visible position( 【FPicture 】
